用 goose 的子配方自动化复杂工作流

更新: 本文为历史参考而保留。公开的配方食谱提交流程已经结束,我们不再接受新的配方投稿。
还记得你第一次学做饭吗?你大概从炒蛋或吐司这种简单食谱开始。但最终你会想做更复杂的东西,比如有好几道菜的一整顿晚餐。goose 里的子配方就是这样:每份配方可以独立运行,完成一项专门任务,而主配方编排它们如何运行。
让我们一起探索 goose 子配方!你将学会如何编排多个 AI 模型、协调任务,并构建工作流,让你成为 goose 的「主厨」用户。
子配方为什么重要
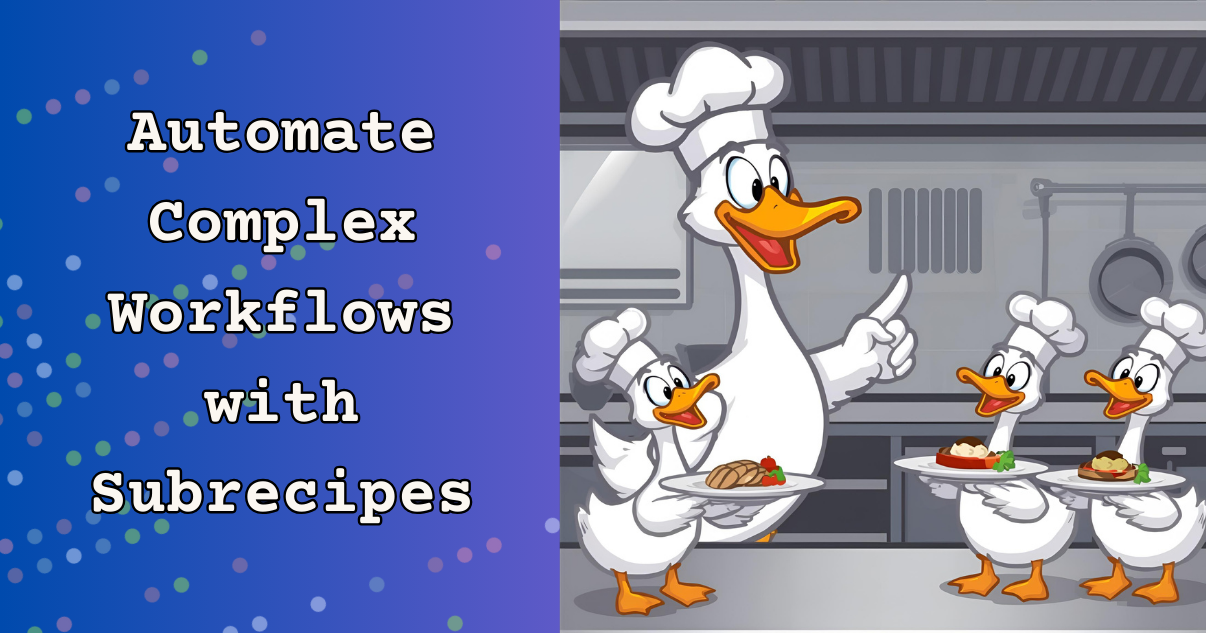
把子配方想成厨房里一支专门厨师的团队。一位厨师做甜点了不起,另一位擅长烧烤,第三位是沙拉大师。你不会让一个人什么都做,而是让每位专家专注于自己最擅长的事。
子配方对你的 goose 工作流正是如此。你可以有一份为图像生成这类创造性任务优化的配方,另一份特别适合技术文档,第三份擅长写代码。然后你从一份主配方编排它们。
一个真实例子:项目搭建自动化
我做了一个项目搭建系统,它创建带文档、标志生成器和初始代码库的完整项目。我没有用一份巨大的配方试图做所有事,而是把它拆成专门的部分。
下面是编排一切的父配方:
version: 1.0.0
title: "Complete Project Setup"
description: "Creates a full project with README, image, and code using specialized models"
instructions: |
  You are a project orchestrator. Execute the subrecipes to create a complete project setup.
  Each subrecipe is specialized for its task and uses the optimal model and instructions for that work.

  EXECUTION ORDER:
  - Run image-creator and code-writer first, in parallel
  - When they both succeed and finish, then run readme-generator; don't make the readme until we have a logo and finished code project to reference

prompt: |
  Create a complete project setup for: {{ project_name }} within ./project

  Execute these tasks:
  - Create a project logo/image
  - Write the initial codebase
  - Generate project documentation

  Project details:
  - Name: {{ project_name }}
  - Language: {{ language }}
  - Description: {{ description }}

parameters:
  - key: project_name
    input_type: string
    requirement: required
    description: "Name of the project to create"

  - key: language
    input_type: string
    requirement: optional
    description: "Programming language to use"
    default: python

  - key: description
    input_type: string
    requirement: required
    description: "Project description"

sub_recipes:

  - name: "image-creator"
    path: "{{ recipe_dir }}/2-image.yaml"
    description: "Create project logo using GPT"
    values:
      project_name: "{{ project_name }}"
      description: "{{ description }}"

  - name: "code-writer"
    path: "{{ recipe_dir }}/3-code.yaml"
    description: "Write initial code using Claude"
    values:
      project_name: "{{ project_name }}"
      language: "{{ language }}"
      description: "{{ description }}"

  - name: "readme-generator"
    path: "{{ recipe_dir }}/1-readme.yaml"
    description: "Generate comprehensive README using Gemini"
    sequential_when_repeated: true
    values:
      project_name: "{{ project_name }}"
      description: "{{ description }}"
      language: "{{ language }}"


extensions:
  - type: builtin
    name: developer
注意每个子配方只拿到它需要的参数,而且我们可以在提示里控制执行顺序。
默认情况下,子配方_并行_运行。这就像多位厨师同时在厨房的不同区域工作。图像生成和写代码同时发生,缩短总执行时间。
有时你需要事情按顺序发生。这里最好的做法是在配方指令里列出你想要的具体顺序。在这个例子里,我希望图像和代码生成并行发生(因为它们互不依赖),并且只有当另外两步都成功时才运行 README 生成,这样它才能引用生成的文件。
针对不同任务的专门子配方
每个子配方都为它的具体工作做了优化。
用 OpenAI DALL-E 生成图像
对图像生成,我们可以在一份更小的配方里使用图像生成 MCP 系统。不过对这个例子,我要让这份配方写一段专门的脚本,直接调用 OpenAI 的 DALL-E API。这让我对图像生成过程有更多控制,也避免外部资源。
version: 1.0.0
title: "Project Image Creator"
description: "Generate project logos and images"

settings:
  goose_provider: "databricks"
  goose_model: "goose-claude-4-sonnet"
  temperature: 0.1

instructions: |
  You are a creative designer specializing in logo and image creation.
  Create visually appealing, professional images that represent the project's purpose.

  Generate images using OpenAI's DALL-E API

activities:
  - Generate images using DALL-E API
  - Save images to specified locations
  - Handle API errors gracefully

prompt: |
  Create a project logo/image for "{{ project_name }}" - {{ description }}.

  Your working folder is "{{recipe_dir}}/project/"

  Task: Generate an image using OpenAI's DALL-E API directly via Python script.

  Image specifications:
  - Size: 1024x1024
  - Quality: standard
  - Output file: "logo.png"

  - Modern, professional design suitable for a tech API
  - Include themed elements based on project description: {{ description}}
  - Professional color scheme
  - High quality and suitable for documentation

  Steps:
  1. First, verify the OPENAI_API_KEY environment variable is set
  2. Create a Python script:
    - the filename should be "./project/logo_generator.py", create that file and edit it in place
    - it should calls OpenAI's DALL-E API directly to generate an image
    - the output folder to store the image is the same folder in which the logo_generator.py script exists
    - for example, the final image should be "./project/logo.png" but not have the "./project" path hard-coded in the script
  3. Execute the script to generate the image with the specified parameters
  4. Verify the image was created successfully and report the file location
  5. If there are any errors, provide clear troubleshooting guidance

  Implementation approach:
  - Use the developer extension to create and run a Python script
  - The script should use only standard library modules (urllib, json, base64) to avoid dependency issues
  - Call OpenAI's DALL-E 3 API directly with proper authentication
  - Handle API responses and save the base64-encoded image to the specified location
  - Provide detailed error messages for troubleshooting

  Requirements:
  - The OPENAI_API_KEY environment variable must be set
  - Handle any API errors gracefully and provide helpful error messages

retry:
  max_retries: 3
  checks:
    - type: shell
      command: test -f "{{recipe_dir}}/project/logo_generator.py"
    - type: shell
      command: test -f "{{recipe_dir}}/project/logo.png"
  on_failure: rm -f "{{recipe_dir}}/project/logo.png" && rm -rf "{{recipe_dir}}/project/logo_generator.py"
  timeout_seconds: 60

extensions:
  - type: builtin
    name: developer

parameters:
  - key: project_name
    input_type: string
    requirement: required
    description: "Project name for the logo"
  - key: description
    input_type: string
    requirement: required
    description: "What the project is about"
如果你确实想要更多创意,可以使用图像生成 MCP 服务器,并使用为艺术图像创作优化的模型:
settings:
  goose_provider: "openai"
  goose_model: "gpt-4o"
  temperature: 0.8
用 Claude Sonnet 生成代码
代码生成配方用 Claude 来保证技术精度。我们把「temperature」设得很低,以确保生成的代码可靠并遵循最佳实践。
version: 1.0.0
title: "Code Generator"
description: "Write initial project codebase"

settings:
  goose_provider: "anthropic"
  goose_model: "claude-sonnet-4"
  temperature: 0.1

instructions: |
  You are a senior software engineer who writes clean, well-documented, and maintainable code.
  Follow best practices and include comprehensive error handling and documentation.

prompt: |
  Write the initial codebase for "{{ project_name }}".

  Your project folder will be ./project/

  Requirements:
  - Language: {{ language }}
  - Description: {{ description }}
  - Include proper project structure
  - Include error handling
  - Follow language-specific best practices
  - Add unit tests where appropriate

  Documentation:
  - Add comprehensive documentation in a file called USAGE.md
  - do not create a README.md file

extensions:
  - type: builtin
    name: developer

parameters:
  - key: project_name
    input_type: string
    requirement: required
    description: "Project name"
  - key: language
    input_type: string
    requirement: required
    default: "python"
    description: "Programming language"
  - key: description
    input_type: string
    requirement: required
    description: "Project description"
用 Gemini 生成 README
文档配方则用 Gemini 来生成全面的 README:
version: 1.0.0
title: "README Generator"
description: "Generate comprehensive project documentation"

settings:
  goose_provider: "google"
  goose_model: "gemini-2.5-flash"
  temperature: 0.5

instructions: |
  You are a technical documentation specialist. Create comprehensive, well-structured README files
  that are informative, professional, and follow best practices.

prompt: |
  Create a comprehensive README.md file for the project "{{ project_name }}".

  Project details:
  - Name: {{ project_name }}
  - Language: {{ language }}
  - Description: {{ description }}

  Include sections for:
  - Project overview and features with lots of excitement over the capabilities of the project
  - Installation instructions
  - Usage examples

  the code and logo for this project will be in ./project; include the logo.png at the top of the readme, and instructions on running the code in the readme.

  the readme file should be placed in ./project/

extensions:
  - type: builtin
    name: developer

parameters:
  - key: project_name
    input_type: string
    requirement: required
    description: "Project name"
  - key: language
    input_type: string
    requirement: required
    description: "Programming language"
  - key: description
    input_type: string
    requirement: required
    description: "Project description"
子配方的调试技巧
只要遵循几条最佳实践,调试子配方就很直接:
1. 确保每份配方都能独立运行
这至关重要。每个子配方自己就应该完美工作。先单独测试它们,再组合。如果一个子配方单独运行就失败,它作为更大工作流的一部分也一定会失败。
# Test each subrecipe individually first
goose run --recipe 1-readme.yaml --params project_name="test" language="python" description="test project"
goose run --recipe 2-image.yaml --params project_name="test" description="test project"
goose run --recipe 3-code.yaml --params project_name="test" language="python" description="test project"
2. 用 recipe_dir 表示相对路径
配方里的文件路径始终使用 {{ recipe_dir }}。这让配方可移植,并避免有人从不同目录运行时出现路径问题。
3. 参数校验是你的朋友
写清楚参数描述,并标出必需参数。这样当有人忘了传入需要的值时,就不会出现令人困惑的错误。
4. 为不稳定的操作加上重试逻辑
网络调用、文件操作和 API 调用都可能失败。加上带恰当清理的重试逻辑:
retry:
  max_retries: 3
  checks:
    - type: shell
      command: test -f "expected_output.txt"
  on_failure: rm -f "partial_output.txt"
  timeout_seconds: 60
5. 监控资源使用
并行运行多个子配方时,留意 API 速率限制和系统资源。对资源密集的任务,你可能需要调整执行策略。
更多子配方工作流
从简单开始。挑一项你经常做的复杂任务,把它拆成 2-3 个更小的部分。为每一部分创建单独的配方,分别测试,然后做一份父配方来编排它们。
一些帮你起步的想法:
- 内容创作流水线:研究、写作、编辑和排版
- 开发工作流:代码生成、测试、文档、部署
- 数据处理:采集、清洗、分析、可视化
- 项目搭建:创建结构、配置、初始文件、文档
编排式 AI 的未来
子配方代表的东西比 goose 的一项功能更大。它们让我们瞥见未来将如何与 AI 共事——不是试图做所有事的单体系统,而是朝着共同目标一起工作的专门智能体。
每份配方都变成一个可复用组件,你可以混搭。建立专门配方的库,然后以不同方式为不同项目组合它们。就像有一套随时能应对任何挑战的 AI 专家工具箱。
准备好开始构建你自己的子配方工作流了吗?厨房开着,所有原料都在等你。
配方投稿已关闭
配方食谱仍可浏览,但我们不再接受新的社区配方投稿。